앱 정보
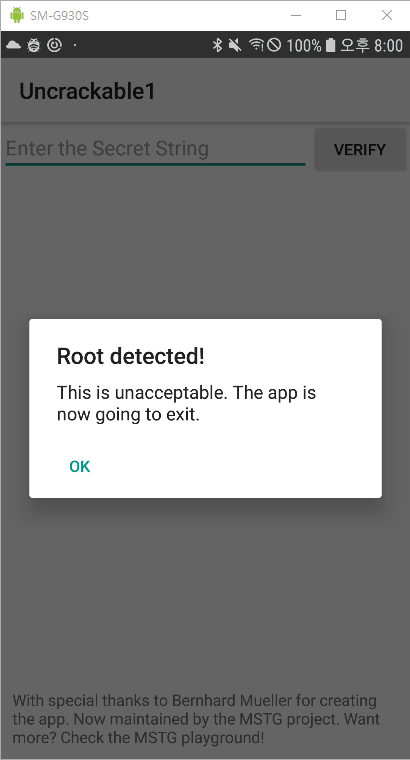
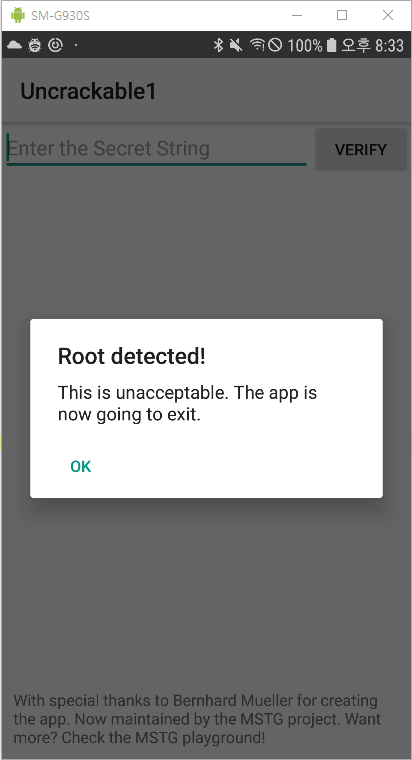
앱을 실행시켜보면 다음 그림과 같이 "Root detected"라는 창이 생기고 OK 버튼을 누르면 앱이 종료되는 것을 확인할 수 있다.

앱 분석
onCreate()
public void onCreate(Bundle bundle) {
        if (c.a() || c.b() || c.c()) {
            a("Root detected!");
        }
        if (b.a(getApplicationContext())) {
            a("App is debuggable!");
        }
        super.onCreate(bundle);
        setContentView(R.layout.activity_main);
    }
public class c {
    public static boolean a() {
        for (String file : System.getenv("PATH").split(":")) {
            if (new File(file, "su").exists()) {
                return true;
            }
        }
        return false;
    }

    public static boolean b() {
        String str = Build.TAGS;
        return str != null && str.contains("test-keys");
    }

    public static boolean c() {
        for (String file : new String[]{"/system/app/Superuser.apk", "/system/xbin/daemonsu", "/system/etc/init.d/99SuperSUDaemon", "/system/bin/.ext/.su", "/system/etc/.has_su_daemon", "/system/etc/.installed_su_daemon", "/dev/com.koushikdutta.superuser.daemon/"}) {
            if (new File(file).exists()) {
                return true;
            }
        }
        return false;
    }
}

public class b {
    public static boolean a(Context context) {
        return (context.getApplicationContext().getApplicationInfo().flags & 2) != 0;
    }
}

private void a(String str) {
        AlertDialog create = new AlertDialog.Builder(this).create();
        create.setTitle(str);
        create.setMessage("This is unacceptable. The app is now going to exit.");
        create.setButton(-3, "OK", new DialogInterface.OnClickListener() {
            public void onClick(DialogInterface dialogInterface, int i) {
                System.exit(0);
            }
        });
        create.setCancelable(false);
        create.show();
}
onCreate() 함수를 확인해보면 다음과 같은 정보를 알 수 있다.
- c 클래스의 a(), b(), c() 함수를 통해 각각 환경변수, Build.TAGS, 루팅 관련 앱 유무를 통해 루팅 된 기기인지 아닌지 확인한다.
- b 클래스의 a() 함수를 통해서는 디버그 모드 유무를 확인한다.
- 만약 루팅 혹은 디버그가 감지되어 a() 함수가 실행이 되면 다음과 같이 진행된다.
- 인자로 넘겨져온 문자열을 Title로 하는 메시지 박스를 생성 및 출력 후 만약 해당 박스에 "OK"버튼을 눌렀다면 exit() 함수를 통해 종료시킨다.
위 분석을 통해 알 수 있듯이 루팅 감지를 우회하기 위해서는 다음 두 가지 방법이 있다.
- c 클래스의 a(), b(), c() 함수를 후킹 하여 반환 값을 false로 고정시킨다.
- exit() 함수를 후킹하여 종료되지 않도록 한다.
Exploit
반환값 조정을 통한 루팅 우회
Exploit Code
console.log("Script loaded successfully");
Java.perform(function x() {
    console.log("java perform function");
    var sg = Java.use('sg.vantagepoint.a.c');
    sg.a.overload().implementation = function () {
        console.log("function a bypass");
        return false;
    };
    sg.b.overload().implementation = function () {
        console.log("function b bypass");
        return false;
    };
    sg.c.overload().implementation = function () {
        console.log("function c bypass");
        return false;
    };
});
우회를 위한 코드는 간단하게 c 클래스의 a(), b(), c() 함수를 후킹 한 후 반환 값을 false로 돌려주면 끝이다.
스크립트를 실행하면 다음과 같이 각 함수를 후킹한 모습을 확인할 수 있으며, 루팅 우회 또한 정상적으로 이루어져 애플리케이션이 종료되지 않은 모습을 확인할 수 있다.


exit() 함수 후킹을 통한 우회
console.log("Script loaded successfully");
Java.perform(function x() {
    console.log("java perform function");
    var sys = Java.use('java.lang.System');
    sys.exit.implementation = function () {
        console.log("success");
    }
});
우회 코드는 간단하게 exit() 함수를 후킹한 후 로그만 찍어주는 코드이다.
스크립트를 실행하면 기존과 똑같이 "Root detected" 라는 메시지 박스가 보이지만 "OK"버튼을 눌러주면

"success"라는 로그가 출력된 뒤 애플리케이션이 종료되지 않는 모습을 확인할 수 있다.

Reference
'Android > Uncrackable' 카테고리의 다른 글
| Uncrackable 2 (0) | 2021.11.08 |
|---|---|
| Uncrackable 1 - Secret String (0) | 2021.11.01 |